This guide will walk you through creating a .p12 certificate file required for enabling push notifications in your iOS application.
Go to Apple Developer Account
Visit the Apple Developer portal at developer.apple.com
Sign In
Sign in using your Apple Developer credentials
Navigate to Certificates
In the left menu, click Certificates, Identifiers & Profiles
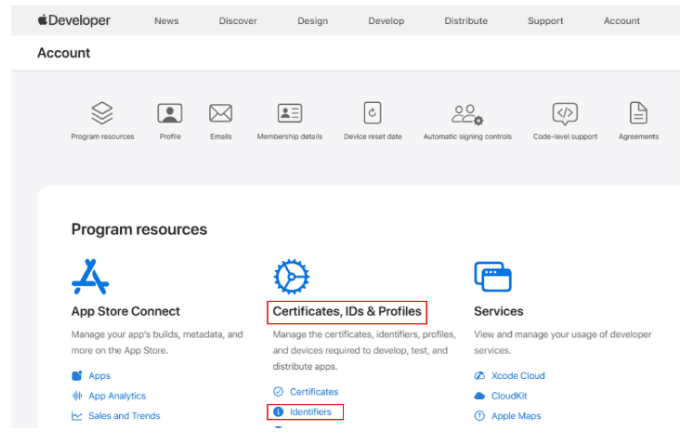
Go to Identifiers
Go to Identifiers → App IDs
Create New App ID
Create a new App ID (or select an existing one)
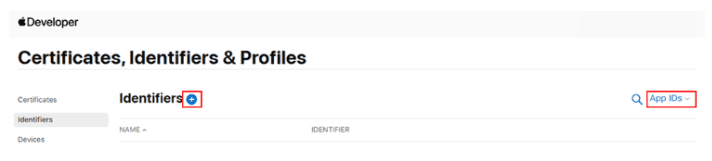
To create a new App ID click on Plus icon (+), then check the App IDs and click on Continue button

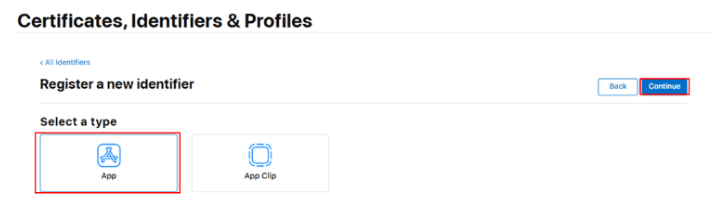
Select App Type
Select a type as App and click on Continue button
Enter App Details
Description: Enter your app name (e.g., MyApp iOS)
Bundle ID: Select Explicit App ID and enter the bundle identifier in reverse-domain style (e.g., com.company.myapp)
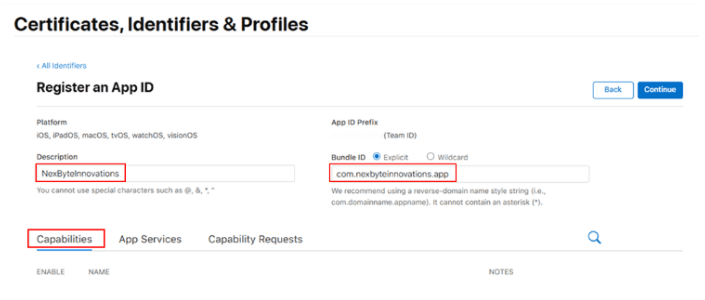
Enable Push Notifications
Scroll down to the Capabilities section and check the box for Push Notifications
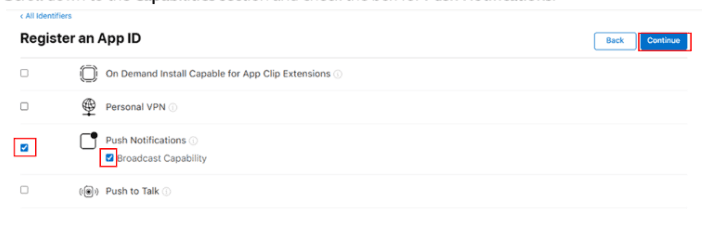
Complete Registration
Click Continue → then click Register to create the new App ID
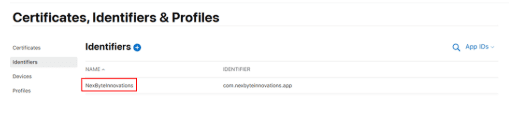
New App ID created successfully
Open Keychain Access
Open Keychain Access on your Mac
Request Certificate
From the menu bar, go to: Keychain Access → Certificate Assistant → Request a Certificate From a Certificate Authority...
Enter Details
Enter your email address and Common Name
Save CSR File
Select Saved to disk, then click Continue
A .certSigningRequest (CSR) file will be saved to your computer
Go to Certificates
In your Developer account, go to Certificates → click +
Select Certificate Type
Choose Apple Push Notification service SSL (Sandbox & Production)
Select App ID
Select the App ID created earlier
Upload CSR File
Upload the CSR file you created
Download Certificate
Download the generated .cer file
Add to Keychain
Double-click the .cer file to add it to Keychain Access
Locate Certificate
In Keychain Access, find your certificate under My Certificates
Export Certificate
Right-click the certificate → choose Export
Save as .p12
Save it as a .p12 file
You'll be asked to set a password — remember it, as you'll need it when uploading to Nexbyte
Log in to Nexbyte
Log in to your Nexbyte App Builder panel
Navigate to Push Notifications
Navigate to the Push Notification setup section
Upload Files
Upload the .p12 file along with the password you set
Complete Setup
Once uploaded, your iOS app will be ready to send push notifications